If you are developing an Oracle APEX application and want to integrate PayPal as a payment option, you might wonder how to do it. In this blog post, I will show you how to use the PayPal REST API to create and execute payments from your APEX app.
The PayPal REST API allows you to create and manage payments, invoices, subscriptions, and other transactions. You can use it to accept credit cards, PayPal, Venmo, and other payment methods. To use the PayPal REST API, you need to create a PayPal developer account and get an access token.
The steps to integrate PayPal to your APEX app are:
- Create a PayPal developer account and get an access token.
- Create a payment object using the PayPal REST API.
- Redirect the user to the PayPal approval URL.
- Execute the payment using the PayPal REST API.
- Confirm the payment status and display a confirmation message.
Let’s go through each step in detail.
PayPal Setup
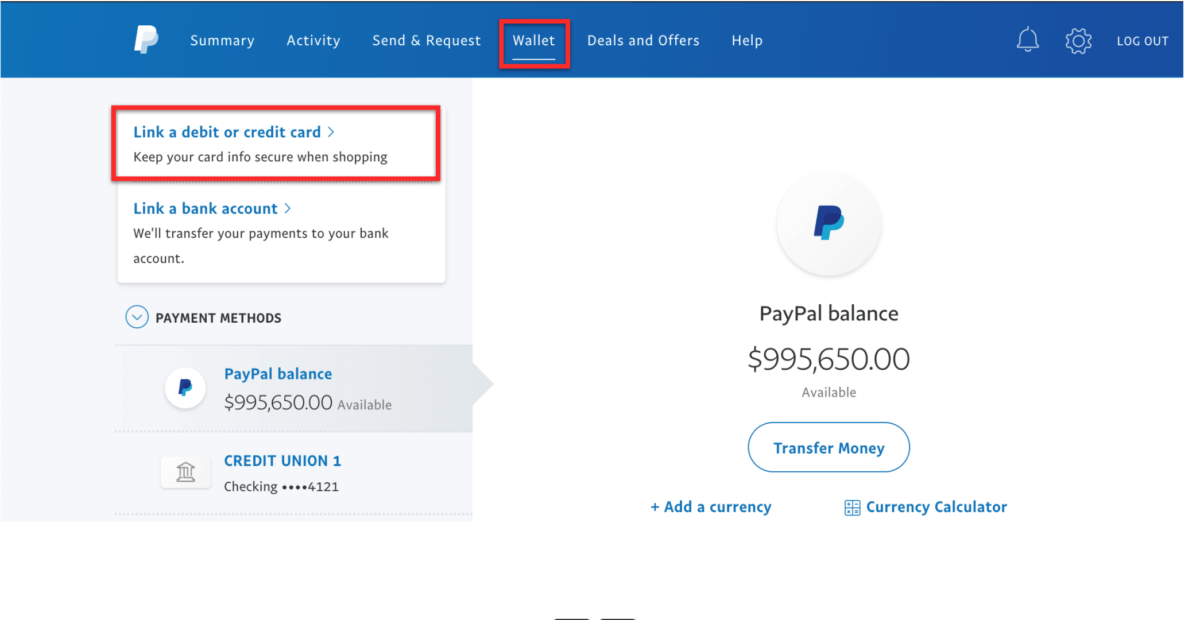
Here are the steps to signing up for a PayPal Developer Account:
- Go to https://developer.paypal.com/ and click on Log In.
- If you already have a personal or business PayPal account, you can use it to log in. If not, you will need to create one first by clicking on Sign Up.
- Once you are logged in, you will see your dashboard with various options and resources. You can explore the documentation, try out the APIs, and manage your apps and credentials.
- To create an app, click on My Apps & Credentials in the left menu. Then click on Create App under the REST API apps section.
- Give your app a name and choose a sandbox account to associate it with. A sandbox account is a dummy account that you can use to test your integration without using real money or data.
- Click on Create App. You will see your app details, including your client ID and secret, which you will need to authenticate your API calls.
- You can also toggle between sandbox and live mode, edit your app settings, and view your app transactions and webhooks.
- To test your integration, you can use the sandbox accounts that are automatically created for you when you sign up for a PayPal Developer Account. You can view and manage these accounts by clicking on Accounts under the Sandbox section in the left menu.
- You can also create new sandbox accounts, add or remove funds, and simulate different scenarios using the sandbox testing guide.
- When you are ready to go live, you will need to submit your app for review and approval by PayPal. You can do this by clicking on the Live tab on your app details page and following the instructions.
Congratulations! You have successfully signed up for a PayPal Developer Account and created your first app. You can now start accepting payments online using PayPal’s secure and convenient platform.
APEX Integration
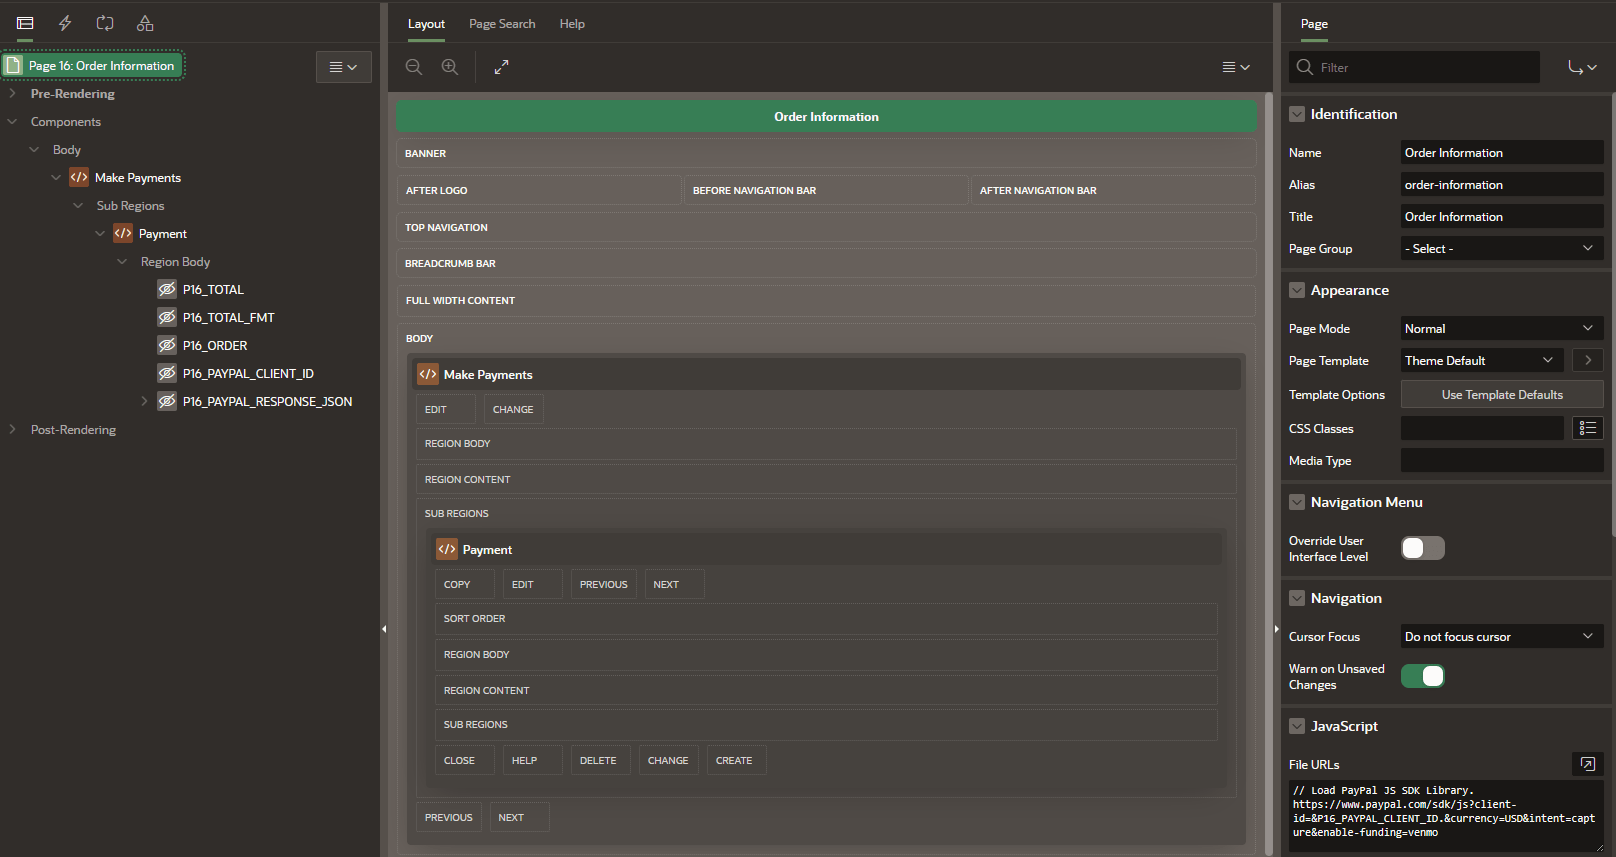
I have built a Demo APEX Application that will demonstrate the integration.
-
PayPal Javascript SDK
The PayPal JavaScript SDK is a modern and flexible way to accept PayPal, credit cards, debit cards, and alternative payment methods on your website. It allows you to customize the payment experience, handle dynamic payment scenarios, and optimize performance.
The PayPal JavaScript SDK consists of two main components: the PayPal script tag and the PayPal buttons. The PayPal script tag is a single line of code that you add to your HTML page. It loads the PayPal JavaScript SDK and initializes it with your client ID and other configuration options. The PayPal buttons are UI components that render the PayPal button and handle the payment flow. You can use the PayPal buttons to create different types of payment buttons, such as smart buttons, subscription buttons, or custom buttons.
To get started with the PayPal JavaScript SDK, follow these steps:
- Add the PayPal script tag to your HTML page. Replace YOUR_CLIENT_ID with your sandbox or live client ID. You can also specify other configuration options, such as currency, intent, commit, vault etc. For more details, see https://developer.paypal.com/docs/business/javascript-sdk/javascript-sdk-configuration/.
- Add an element with an id of “paypal-button-container” to your page. This is where the PayPal button will be rendered.


- Loading PayPal JavaScript SDK by referencing it in the page’s JavaScipt FILE URLs section. Place this code at File URLs
// Load PayPal JS SDK Library.

https://www.paypal.com/sdk/js?client-id=&P16_PAYPAL_CLIENT_ID.¤cy=USD&intent=capture&enable-funding=venmo

// The URL above has four parameters;

Client_id => P16_PAYPAL_CLIENT_ID (Page Item)

Currency => USD

Intent => Get payments immediately


- The code below (Code from PayPal Integration Builder) will be called when the user selects the payment option and captures the transaction in JSON object. Place this code at Execute when Page Loads
// Capture the Order Total.

var cartTotal = $v("P16_TOTAL");

const paypalButtonsComponent = paypal.Buttons({

  // optional styling for buttons

  style: {

    color: "gold",

    shape: "pill",

    layout: "vertical"

  },

  // Prepare the PayPal transaction with the Order Total

  createOrder: (data, actions) => {

      const createOrderPayload = {

          purchase_units: [

              {

                  amount: {

                      value: cartTotal

                  }

              }

          ]

      };

      return actions.order.create(createOrderPayload);

  },

  // finalize the transaction, called when user completes payment.

  onApprove: (data, actions) => {

      const captureOrderHandler = (details) => {

      const payerName = details.payer.name.given_name;

      // Store the PayPal JSON Response in an APEX Page Item.

      $s("P16_PAYPAL_RESPONSE_JSON", JSON.stringify(details, null, 2));

      };

      return actions.order.capture().then(captureOrderHandler);

  },

  // handle unrecoverable errors

  onError: (err) => {

    // Additional Code required here to handle errors from PayPal.

    console.error('An error prevented the buyer from checking out
When the user clicks the PayPal button, the PayPal SDK opens a dialog pop-up where one can log in with their personal or sandbox PayPal account (i.e. for testing purposes) and be able to make payments .


Once payment is done you will confirm your order
Credits
- This tutorial is independently created and is not official Oracle Corporation documentation.
- The content of this tutorial has been enriched by leveraging the insights and documentation available from Oracle Corporation. We extend our thanks to Oracle for their dedication to knowledge sharing. For official Oracle resources and additional information, please refer to www.oracle.com.

